Why Your Graphite Sketches Look Flat and Muddy

The Problem with "Perfect" Graphite
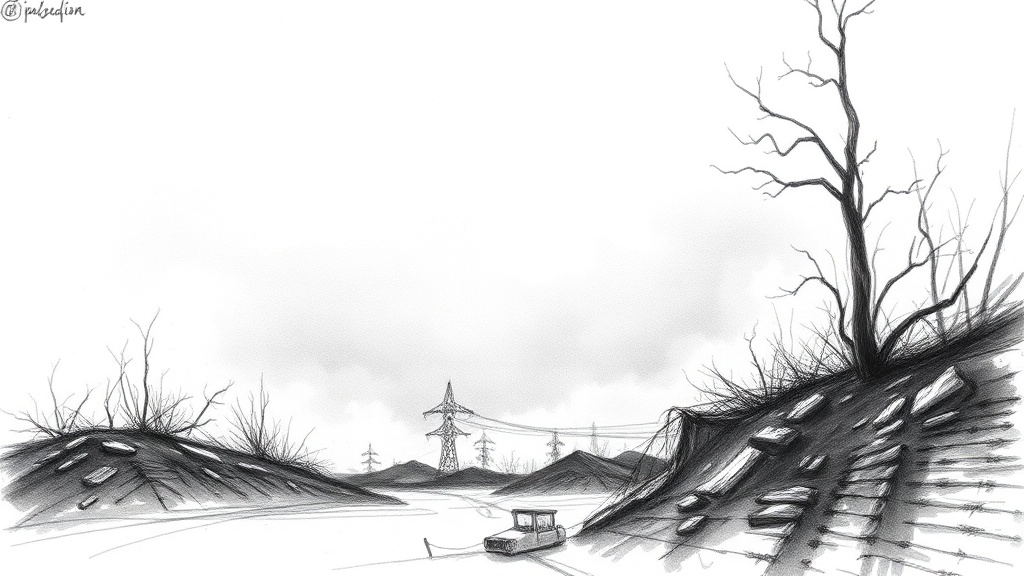
Many artists believe that a flat, muddy drawing is a sign of poor technical skill or a lack of natural talent. In reality, a lack of depth in graphite sketching is usually a mechanical issue involving pressure, tool selection, and a misunderstanding of value ranges. When your sketches look two-dimensional or "gray" rather than striking, it is often because you are stuck in the middle of the value scale, avoiding the extremes of light and dark. This post addresses the specific technical reasons your graphite work feels stagnant and provides actionable steps to introduce high contrast and structural depth into your art journaling and sketching practice.
To fix a muddy drawing, you must stop treating graphite as a single medium and start treating it as a spectrum of light and shadow. This requires moving away from the "safety" of the HB pencil and embracing the full range of tools available to you.
1. The Trap of the Mid-Tone Range
The most common reason a sketch looks flat is the lack of "true black." If you are primarily using an HB or a 2B pencil, you are operating within a very narrow range of values. Most people spend their entire sketching process in the 40% to 60% darkness range. This creates a "gray" effect that lacks the punch necessary to draw the eye. To create dimension, you need a clear hierarchy of values: bright highlights, mid-tones, and deep, dark shadows.
The Fix: Expand your toolkit. A standard set of Staedtler Mars Lumograph pencils is a great baseline because they offer consistent graphite quality. You need to intentionally use a 4B or 6B for your deepest shadows and a 2H or 4H for your lightest structural lines. If you only use one pencil for an entire drawing, you are effectively removing the ability to create depth. Practice drawing a value scale from 1 to 10, ensuring that your number 10 is a dark, rich black that actually looks black on the paper, not just dark gray.
2. Over-Blending and the Loss of Texture
Blending is often taught as a way to make drawings look "smooth," but over-blending is the fastest way to create a muddy, lifeless image. When you use a blending stump (tortillon) or a tissue to smear graphite across the page, you are essentially pushing the pigment into the grain of the paper and filling the "valleys" of the paper texture. This creates a shiny, waxy buildup that looks dull and lacks the crispness of a well-defined edge. This is especially problematic in mixed-media journaling, where you might be layering graphite over other textures.
The Fix: Use hatching and cross-hatching instead of constant smearing. Instead of rubbing a stump to create a shadow, use controlled lines of varying density. If you want a softer look, try using a dry brush or a very soft piece of scrap paper, but avoid the temptation to "erase" the texture of the paper. If you have already over-blended and the area looks shiny or "slick," you have likely hit the limit of the paper's capacity. At this stage, you cannot add more pigment; you must either work around it or start a new layer on a different surface.
3. Ignoring the Paper Grain
The surface you choose dictates how the graphite sits. If you are using a very smooth, hot-pressed paper, the graphite has nowhere to "grip," which often results in a flat, reflective sheen. If you are using a heavy, textured watercolor paper, the graphite may only hit the "peaks" of the paper, leaving the "valleys" white and making the drawing look broken or uneven. This lack of consistency is a major contributor to a "muddy" appearance.
The Fix: Match your pencil hardness to your paper tooth. On a textured paper, you will need to use more pressure or a softer lead (like a 4B) to ensure the pigment reaches the bottom of the grain. If you are working on a smoother sketchbook page, focus on layering many light passes rather than one heavy, high-pressure stroke. This prevents the "burnishing" effect where the graphite becomes a hard, reflective layer that refuses to take more pigment.
4. Lack of High-Contrast Edges
Dimension is created by the relationship between edges. In a flat drawing, every edge has the same level of softness. In a dimensional drawing, you have a mix of hard edges, soft edges, and lost edges. A "lost edge" is where a shadow becomes so dark that it merges with the background, making the object appear to recede. Without these lost edges, your subjects will look like they are "floating" on top of the paper rather than existing within a space.
The Fix: Practice "Edge Control." When sketching a form, identify where the light is hitting it directly. That area should have a hard, crisp edge against a light background. Conversely, identify the shadow side. Use a dark 6B pencil to create a deep shadow that bleeds into the background. This creates the illusion of weight and volume. If you are working in a mixed-media journal, you can even use a black ink wash or a dark acrylic paint to create these "lost edges," adding a level of depth that graphite alone might struggle to achieve.
5. The "Eraser as a Drawing Tool" Technique
Many artists view the eraser only as a way to fix mistakes. However, to combat a muddy drawing, you must view the eraser as a way to "draw" light. If your sketch is looking too heavy or dark, do not just try to rub the graphite away with a standard pink eraser, which often leaves streaks and debris. Instead, use the light to carve out form.
The Fix: Invest in a Tombow Mono Zero precision eraser. These are small, pen-shaped erasers that allow you to lift tiny amounts of graphite to create highlights. Use them to add a "specular highlight" to a curved surface, such as the tip of a nose or the edge of a glass bottle. This creates a sharp contrast against your dark graphite shadows, instantly making the object look three-dimensional. This technique works exceptionally well when you are layering graphite over coffee and tea stains, as the light can be "carved" back into the darker, stained areas of the page.
Summary Checklist for Depth
Before you finish a sketch, run through this checklist to ensure you haven't fallen into the "flat and muddy" trap:
- Do I have a true black? (Check if your darkest area is actually dark or just a dark gray).
- Do I have a true white? (Check if your highlights are bright or if they have been dulled by blending).
- Is there a variety of edges? (Ensure you have a mix of sharp, soft, and lost edges).
- Am I over-blending? (Look for a shiny, waxy sheen on the paper; if it's there, you've gone too far).
- Is my tool range sufficient? (Ensure you have used at least one hard pencil and one soft pencil).
Remember, the goal of sketching in a journal isn't always to produce a masterpiece, but to practice the discipline of seeing. When a drawing looks "ugly" or "muddy," don't scrap it. Instead, look at it critically: is it a lack of contrast, or a lack of edge control? Use these technical adjustments to turn a flat sketch into a dimensional, striking piece of art.