Ways to Use Found Objects in Your Mixed Media Art

Textural Fabrics and Lace
Dried Botanicals and Natural Elements
Vintage Ephemera and Paper Scraps
Found Hardware and Metal Bits
Thread, String, and Yarn
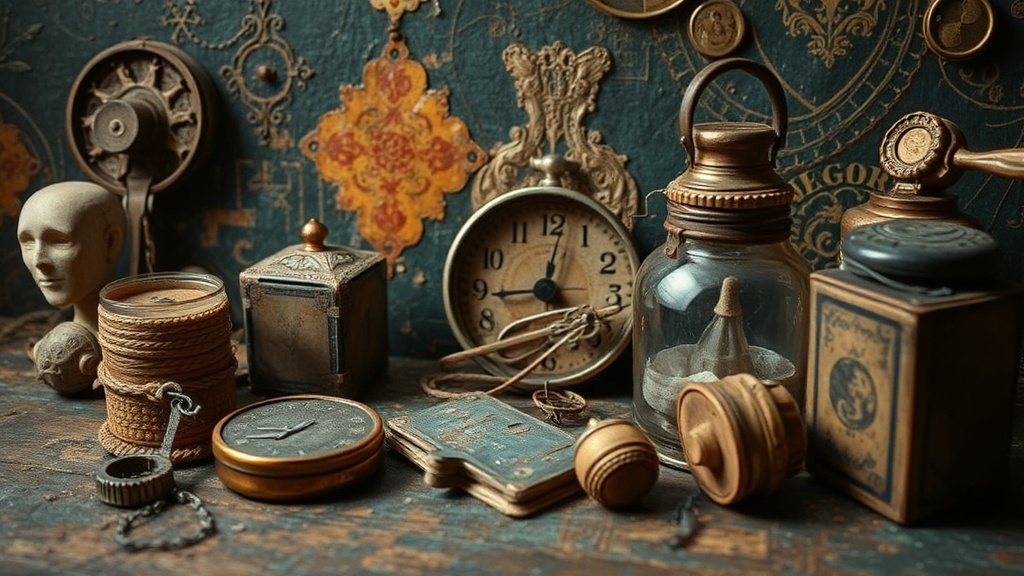
A person is walking through a local thrift store and spots a rusted skeleton key, a chipped ceramic saucer, and a handful of vintage postage stamps. Instead of seeing junk, they see texture, history, and a way to break the monotony of a flat canvas. This shift in perspective is the core of mixed media art. Using found objects allows you to move beyond the limitations of standard brushes and pens, adding physical depth and unexpected storytelling to your work. This post explores practical ways to incorporate these items into your art journal or canvas to create more tactile, layered, and expressive pieces.
Creating Texture with Organic and Found Materials
Texture is often the difference between a piece that feels "flat" and one that feels alive. When you rely solely on paint, you are working in two dimensions. Found objects introduce a third dimension that invites the viewer (and the artist) to interact with the surface. This is a great way to practice embracing imperfect lines and shapes, as organic objects rarely follow perfect geometric rules.
Using Dried Botanicals and Natural Elements
Nature provides an endless supply of free, high-quality textures. Dried leaves, pressed flowers, or even small twigs can be glued onto a surface to create a focal point. To ensure these items stay in your journal without causing mold or damage, it is best to use a clear matte medium or a heavy-duty gel medium. If you are working on a canvas, you can use a brush-on adhesive like Aleene’s Tacky Glue. For example, a single dried fern leaf can be layered under a translucent wash of Winsor & Newton watercolors to create a ghostly, ethereal effect.
Incorporating Textiles and Fibers
Fabric scraps are one of the most versatile found objects. You don't need expensive linen; instead, look for scraps of old denim, lace from a torn garment, or even frayed pieces of burlap. These materials add a sense of weight and domesticity to your art. You can use a "fabric glue" or a heavy-bodied modeling paste to adhere them. A piece of torn lace can be placed under a layer of acrylic paint, then partially sanded back with fine-grit sandpaper to reveal the intricate pattern underneath. This creates a sophisticated, weathered look that is difficult to achieve with paint alone.
Building Dimension with Household Objects
Look around your kitchen or junk drawer. Many everyday items can be repurposed as sculptural elements in your mixed media work. This practice helps you detach from the idea that "art supplies" must come from a specialized art store.
Using Hardware and Metal Scraps
Metal adds a sense of industrial grit to an art journal. Small items like washers, nuts, bolts, or even old paperclips can be glued down to create structural interest. If you are working on a heavy-duty substrate like a wooden panel or a thick canvas board, these items will sit securely. To prevent rust from staining your paper, consider sealing the metal object with a clear spray sealer or a coat of Mod Podge before adhering it. A rusted washer placed in the center of a composition can act as a heavy, grounding element against light, airy watercolor washes.
Incorporating Paper Ephemera and Packaging
Paper is the most accessible found object. This includes more than just scrap paper; think about tea bags, vintage envelopes, or even the textured cardboard from a cereal box. A used tea bag, once dried, has a beautiful, stained patina that adds an instant sense of age to a page. You can also use the crinkled texture of a brown paper bag to create a base layer. By crumpling the paper before gluing it down, you create a landscape of peaks and valleys that catch the light and shadow differently than a flat sheet of paper.
If you find that your pages are looking a bit stagnant because you are sticking to the same materials, learning how to use mixed media to fix your sketchbook pages can be a game-changer. Adding these physical layers is a perfect way to "fix" a page that feels too empty or uninspired.
Techniques for Integrating Objects into Your Layers
Simply gluing an object onto a page is one way to work, but true mixed media art involves integrating the object into the painting process. This creates a seamless, intentional look rather than something that looks like it was just "stuck on."
The "Under-Layering" Method
Instead of making the object the final touch, make it the foundation. Place your found object—such as a piece of mesh or a torn piece of a window screen—on the page first. Then, paint over it with thin layers of acrylic paint or ink. This "veils" the object, making it part of the background. For instance, if you glue a piece of mesh down and then apply a wash of Payne's Gray acrylic, the mesh will appear as a subtle, textured shadow beneath the color. This adds depth without the object feeling disconnected from the composition.
The "Encapsulation" Method
Encapsulation involves building layers of medium over and around an object to "trap" it within the art. This is excellent for smaller, lighter items like sequins, glitter, or tiny dried petals. Use a heavy-body modeling paste or a thick gel medium to surround the object. Once the medium is dry, you can paint over it. This creates a 3D effect where the object looks like it is encased in glass or resin. This technique is particularly effective when working on wooden panels or heavy-duty mixed media paper that can handle the weight of the medium.
The "Assemblage" Approach
Assemblage is when the found objects become the primary subject of the work. Instead of a flat page, you are building a small sculpture. This might involve using a shallow wooden box or a thick cardboard base. You can glue down larger items like old keys, wooden buttons, or even small plastic toy parts to create a high-relief surface. When working this way, remember that your "canvas" needs to be sturdy. A standard sketchbook page will tear under the weight of an assemblage, so consider moving these projects to a canvas board or a heavy wooden cradle board.
Practical Tips for Sourcing and Storing
To keep your creative practice flowing, you need a reliable way to collect and organize your materials. A "junk drawer" approach is great for inspiration, but a little organization helps when you are in the middle of a deep creative session.
- The Thrift Store Strategy: Visit local charity shops or thrift stores once a month. Look specifically for items with interesting textures: old lace tablecloths, textured book covers, or even broken ceramics.
- The Nature Walk: Take a small bag on your walks. Collect fallen leaves, interesting stones, or twigs. Remember to let organic materials dry completely before adding them to your journal to prevent any issues with moisture.
- Storage Solutions: Use clear plastic bins or glass jars to organize your found objects by type (e.g., "Metal/Hardware," "Textiles/Lace," "Paper/Ephemera"). This makes it much easier to find the right texture when you are feeling stuck.
- Testing Adhesives: Different objects require different glues. Use a glue stick for light paper, liquid glue for small scraps, and heavy-duty gel medium or E6000 for heavier items like metal or thick wood.
Embracing found objects is a way to practice radical acceptance in your art. It forces you to work with what is available rather than waiting for the "perfect" tool. By incorporating these unexpected elements, you move away from the pressure of perfection and toward a practice of discovery and tactile exploration.