Using Salt to Create Texture in Watercolor Paintings

A handful of coarse sea salt sits in a small ceramic bowl, its crystals irregular and sharp against the smooth rim. When these grains hit a wet watercolor wash, they don't just sit on the surface; they react, pulling pigment toward them to create organic, starburst patterns. This post explores how to use salt as a texture tool in your watercolor paintings to add depth, grit, and unexpected movement to your work. Whether you are looking to create the texture of a stormy sky, the grain of a stone, or the organic speckles of a botanical study, salt is a low-cost, high-impact medium that encourages you to let go of perfectionism and embrace the unpredictable.
The Science of Salt and Watercolor
To use salt effectively, you must understand why it works. Salt is hygroscopic, meaning it attracts and absorbs moisture. When you sprinkle salt onto a wet watercolor wash, the crystals act like tiny vacuums, sucking the water and the suspended pigment into the grain. As the water evaporates, it leaves behind a distinct, mottled texture. This process is entirely dependent on the ratio of water to pigment and, most importantly, the timing of when the salt is applied.
If the paper is too dry, the salt will simply sit on top like sand and won't create a pattern. If the paper is too wet (a "puddle" stage), the salt might dissolve too quickly or create large, messy blotches that are difficult to control. The goal is to hit that "sweet spot" of dampness where the pigment is still moving but the water is starting to settle.
Supplies You Will Need
You do not need expensive specialized tools to master this technique. In fact, the beauty of salt texture lies in its raw, unrefined nature. Gather the following items:
- Watercolor Paper: Use a heavy-weight paper, ideally 140lb (300gsm) cold press. The texture of cold press paper actually works in tandem with the salt to create even more interesting results.
- Watercolor Paints: High-pigment paints like Winsor & Newton or Daniel Smith work beautifully, but even student-grade paints will yield results.
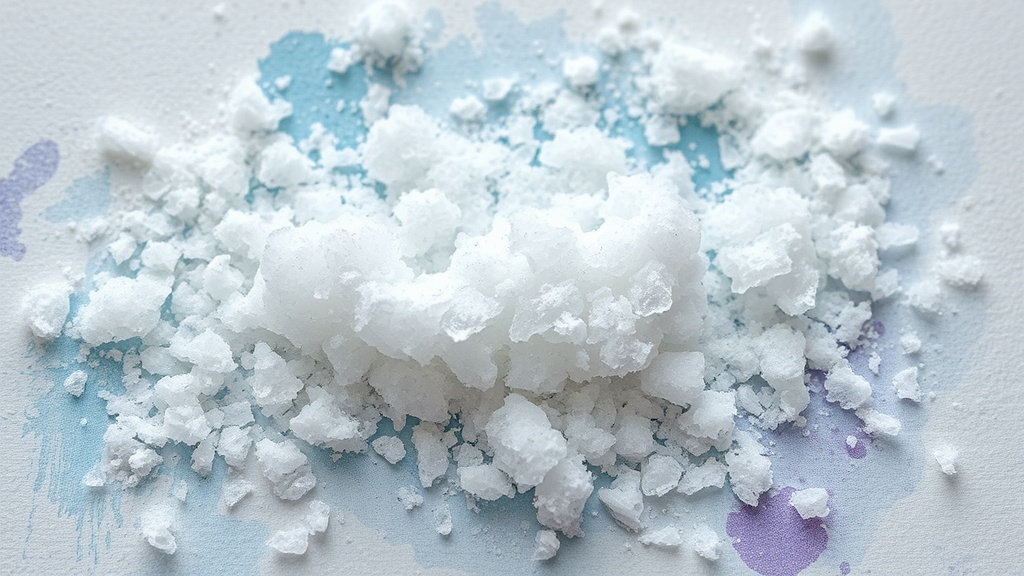
- Different Types of Salt:
- Table Salt: Fine-grained, produces subtle, small speckles.
- Kosher Salt: Larger, irregular grains that create more dramatic, high-contrast textures.
- Sea Salt: Varies in size, offering a middle ground between fine and coarse.
- Brushes: Large flat brushes for creating wide washes and smaller round brushes for controlled areas.
- A Small Container: A pinch pot or a small ramekin to hold your salt.
Step-by-Step Guide to Salt Texture
Step 1: Prepare Your Wash
Start by creating a wet-on-wet wash. Use a large brush to cover a section of your paper with clean water, then drop in your pigment. For a more dramatic effect, try a gradient wash—for example, starting with a deep ultramarine blue at the bottom and transitioning to a pale cerulean at the top. If you want to avoid a flat look, you might want to look at watercolor blending techniques to ensure your base is smooth before the salt enters the equation.
Step 2: Timing the Application
This is the most critical step. Watch your paper closely. You want to apply the salt when the paint looks shiny and "juicy," but before the water has started to soak deep into the fibers of the paper. If you see a pool of water sitting on top, wait a few seconds. If the surface looks matte, you have waited too long. The salt should be applied to a surface that is still actively moving.
Step 3: Sprinkling the Salt
Do not dump the salt directly from the container onto the paper, as this can create a massive, uncontrolled blotch. Instead, take a pinch of salt between your fingers or use a small spoon to lightly tap the salt onto the wet area. For a more controlled "sprinkle," you can even use a small sieve or a salt shaker. Experiment with different densities: a light dusting will create a subtle grain, while a heavy coating will create intense, dark spots.
Step 4: The Waiting Period
Once the salt is down, leave it alone. Resist the urge to brush it around or add more water. The salt needs time to work its magic. Depending on the humidity in your room and the thickness of your paint, this can take anywhere from two minutes to ten minutes. If you try to remove the salt while the paper is still very wet, you may end up smearing the pigment and creating a muddy mess.
Step 5: Removing the Salt
Wait until the paper is completely dry to the touch. Once it is bone dry, use a soft, dry way to remove the salt. You can use a soft-bristled brush (like an old, clean watercolor brush) to gently flick the crystals away, or simply use your fingers to brush them off. You will be left with beautiful, starburst-like textures where the pigment was pulled into the grains.
Three Ways to Experiment with Salt
1. The Celestial Sky
Create a deep indigo and violet wash across your page. While the paint is still quite wet, sprinkle a mix of fine table salt and coarse Kosher salt. The different grain sizes will create a sense of depth, mimicking the look of distant galaxies and nebulae. This is a wonderful way to practice letting go of control, as the salt will create shapes you didn't explicitly plan.
2. Botanical and Organic Textures
If you are painting a botanical study, use salt to create the texture of a petal or a leaf. For example, if you are painting a soft pink rose, create a light pink wash and add a tiny bit of salt to the center of the flower. This adds a sense of organic imperfection that makes the painting feel more alive and less "plastic."
3. Gritty Landscapes
Use salt to create the appearance of rocky terrain or weathered stone. Use earth tones like burnt sienna, ochre, and raw umber. By applying salt in specific streaks or patches, you can simulate the uneven texture of a desert or a mountain range. This technique pairs exceptionally well with natural pigments to enhance the earthy, grounded feel of your work.
Troubleshooting Common Issues
Problem: The salt left large, ugly blotches.
Solution: This usually happens because the paper was too wet or you applied too much salt at once. Next time, try a lighter touch and ensure the water is starting to settle into the paper before you sprinkle.
Problem: There is no visible texture after the paper dried.
Solution: The paper was likely too dry when you applied the salt. If the water has already begun to soak in and the surface looks matte, the salt won't be able to pull the pigment. Ensure you are working on a "juicy" surface.
Problem: The salt left white spots instead of colored texture.
Solution: This can happen if the salt is too fine or if the paint is too thin. Coarser salts like Kosier or Sea Salt tend to produce more distinct, visible results. Also, ensure your paint is saturated enough to provide enough pigment for the salt to "grab."
Embracing the "Ugly" Result
The most important thing to remember when using salt is that it is an unpredictable medium. You might intend to make a subtle texture and end up with a giant, dark spot in the middle of your painting. In my practice, I view these "mistakes" as opportunities. A salt blotch can become a cloud, a stone, or a shadow. Instead of trying to paint "perfectly," use the salt to practice the art of reacting. When the salt changes your painting, don't reach for the eraser—reach for a new color and incorporate that new shape into your story.
Steps
- 1
Apply a wet wash of color
- 2
Sprinkle salt over the damp surface
- 3
Wait for the paint to dry completely
- 4
Brush away the excess salt crystals