Making Your Own Botanical Inks from Kitchen Scraps

You are standing over your kitchen sink, about to toss a handful of bruised avocado skins or a pile of red onion skins into the compost bin. Instead of letting those pigments go to waste, you can transform them into professional-grade botanical inks for your art journal. Making your own ink from kitchen scraps is a way to deepen your connection to your materials and embrace a more sustainable, tactile creative practice. This process allows you to move away from the pressure of perfection and toward a more organic, experimental way of making art that celebrates the unpredictable nature of natural pigments.
The Fundamentals of Botanical Ink Making
Botanical ink making is essentially the process of extracting pigment from plant matter through heat or acidity and then fixing that pigment so it stays on your paper. Unlike synthetic inks, which are chemically engineered for consistency, botanical inks are temperamental. They react to the pH of your water, the type of paper you use, and even the minerals in your tap water. This unpredictability is a feature, not a bug. It invites you to play and observe how a color might shift from a pale yellow to a deep ochre as it dries.
To create a usable ink, you need three components: the pigment source (your scraps), a solvent (usually water), and a mordant. A mordant is a substance that helps the pigment "bite" into the fibers of your paper or fabric, preventing it from fading or washing away. Without a mordant, your beautiful colors might vanish after a few weeks. Common household mordants include white vinegar, salt, or even iron water, which can be made by soaking rusty nails in water.
Essential Tools and Supplies
Before you start boiling your scraps, gather these specific items to ensure your process is clean and effective:
- Stainless Steel Pot: Use a pot that you do not intend to use for food again, or one that is dedicated solely to pigment extraction. Avoid aluminum or non-stick pans, as they can react with the plant matter and alter the color.
- Fine Mesh Strainer: A standard kitchen sieve works well to remove the solid plant matter once the liquid is colored.
- Cheesecloth or Muslin: This is crucial for a second stage of straining to ensure no tiny bits of plant fiber end up in your ink bottle, which could clog a dip pen or brush.
- Glass Jars: Small mason jars or amber glass bottles are ideal for storing your finished inks.
- Digital Kitchen Scale: Precision helps when you want to replicate a specific color later.
- pH Test Strips: If you want to get technical, these help you see how much an acid or base is changing your solution.
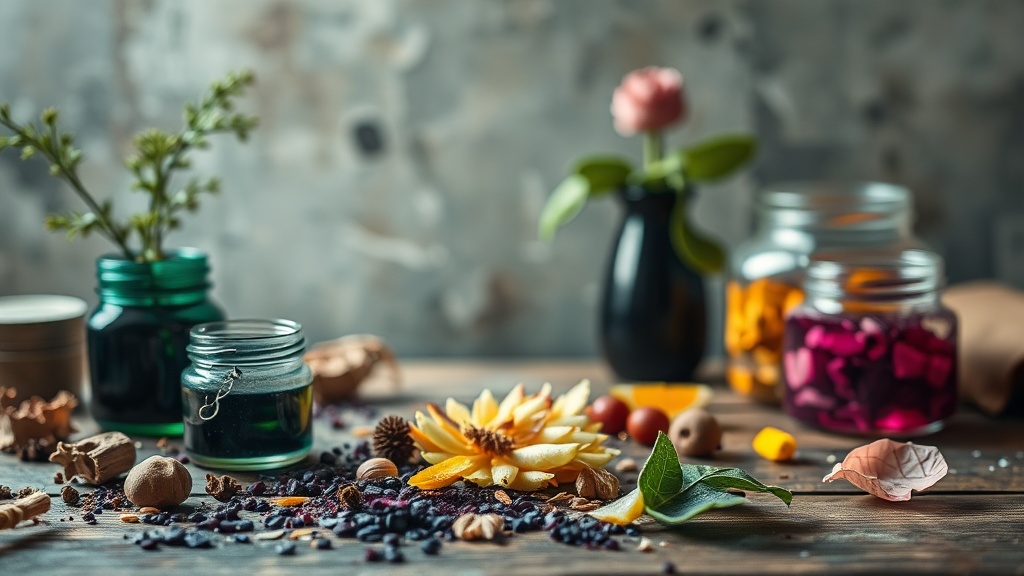
Choosing Your Botanical Sources
The color you achieve depends entirely on the "waste" you choose. Different scraps yield vastly different color families. For a more vintage, sepia-toned aesthetic, you can practice working with coffee and tea stains as a base, but for true botanical inks, look for these specific items in your kitchen:
- Red Onion Skins: These produce a stunning range of deep oranges, ambers, and even soft purples depending on the pH.
- Avocado Skins and Pits: Surprisingly, these often yield a soft, dusty pink or a pale peach color rather than the green you might expect.
- Blackberry or Blueberry Stains: These create deep, moody purples and blues, though they can be highly pH-sensitive.
- Turmeric Powder: While not a "scrap," a small amount of turmeric provides an incredibly intense, bright yellow that is almost neon.
- Pomegranate Rinds: These offer rich, earthy yellows and deep tans.
Step-by-Step Extraction Process
Follow these steps to extract the pigment from your chosen scraps. We will use red onion skins as our primary example, as they are one of the most reliable sources for beginners.
Step 1: Prep the Scraps
The more surface area you provide, the more pigment you will extract. Do not throw away whole onion skins; instead, tear them into smaller pieces or even chop them roughly. If you are using avocado pits, you may want to slice them to expose the interior. Place your scraps into your stainless steel pot and add enough water to completely cover them by at least two inches. You want a high ratio of plant matter to water to ensure a concentrated pigment.
Step 2: The Simmer
Turn the heat to medium and bring the water to a gentle simmer. Do not let it reach a rolling boil, as excessive heat can sometimes "cook" the pigment and turn it a muddy brown rather than a vibrant color. Simmer the mixture for about 45 to 60 minutes. You will see the water change color significantly during this time. Once the liquid looks deeply saturated, turn off the heat.
Step 3: Straining and Refining
Allow the mixture to cool slightly, then pour it through your fine mesh strainer into a bowl to remove the large chunks of plant matter. To get a professional-grade ink that won't ruin your brushes, perform a second strain through a piece of cheesecloth or a coffee filter. This removes the microscopic particles that cause grit in your ink.
Step 4: Adding the Mordant
This is where the chemistry happens. For a standard botanical ink, you can add a small amount of white vinegar (an acid) to brighten the color or a small amount of baking soda (a base) to shift it. If you want to create "Iron Ink"—which often turns colors much darker or even black—you can add a small amount of your prepared iron water. For example, if you add iron to a yellow onion skin extract, it may shift to a deep, moody olive or charcoal. Test a small drop on a piece of scrap paper first to see the reaction before committing to the whole batch.
Step 5: Thickening (Optional)
If you want your ink to behave more like a traditional drawing ink rather than a thin watercolor wash, you can add a thickening agent. A small amount of gum arabic (available at most art supply stores) will give the ink more "body" and help it sit on top of the paper rather than soaking in immediately. Mix it in slowly while the liquid is still slightly warm to ensure it dissolves completely.
Testing and Using Your Botanical Inks
Because these inks are organic, they behave differently on various surfaces. I recommend testing your ink on different types of paper to see how the absorption affects the final color. On highly absorbent paper, like a heavy watercolor paper, the ink might spread or "bleed" more. On smoother surfaces, like a Bristol board or a mixed-media journal page, the edges will remain sharper.
When using your ink, be mindful of the drying time. Natural pigments can sometimes remain slightly tacky for longer than synthetic inks. If you are layering your botanical ink over other media, such as acrylic paint or heavy gouache, ensure the base layer is completely dry. If you are using the ink for fine lines, a dip pen or a small, stiff-bristled brush works best. Avoid using expensive, delicate watercolor brushes for your first few attempts, as the organic particles can occasionally be abrasive.
If you find your ink is too thin, you can simmer it further without adding more water to reduce the volume and concentrate the pigment. This is a common way to create a more "inky" consistency that is suitable for calligraphy or detailed sketching. If you are worried about your colors looking dull, remember that the drying process is part of the art. A color that looks bright while wet may dry to a much more muted, subtle tone.
Storing Your Creations
Since these inks are made from organic matter, they can spoil or grow mold if not stored correctly. To extend the shelf life of your botanical inks, store them in a cool, dark place. Small amber glass bottles are best because they protect the pigment from light degradation. If you notice any fuzzy growth or a change in smell, discard the batch immediately. To further prevent spoilage, you can add a single drop of clove oil or a tiny amount of salt to the mixture, though for short-term use in an active art journal, a cool cupboard is usually sufficient.
Steps
- 1
Gather Your Organic Materials
- 2
Simmer and Extract Color
- 3
Strain the Liquid
- 4
Thicken with a Binder