Creating Movement with Watercolor and Salt

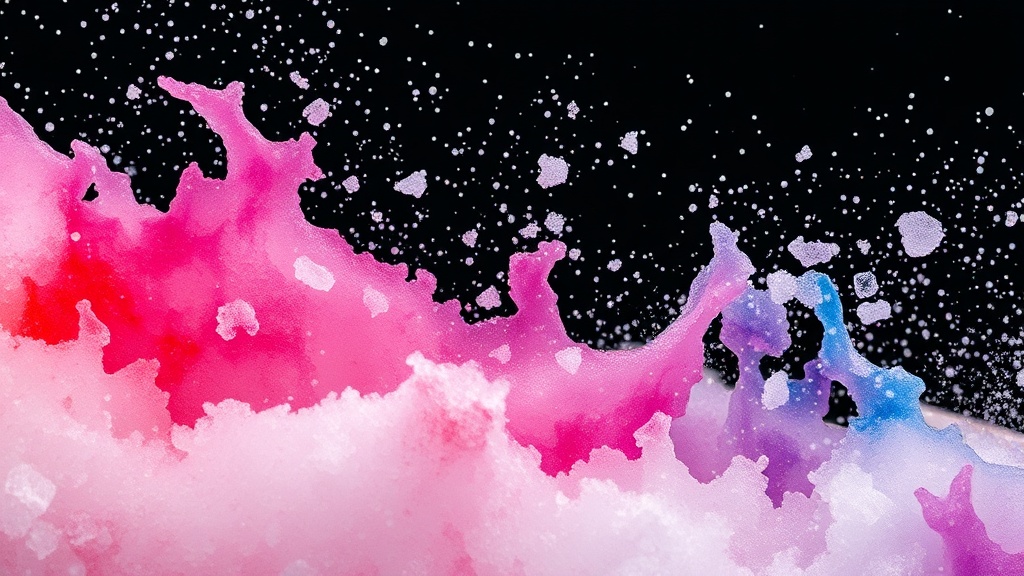
A single crystal of sea salt hits a pool of wet, indigo pigment, causing the color to pull and bloom outward in a jagged, starburst shape. The liquid reacts instantly, creating a tiny, textured crater that looks like a distant nebula or a weathered stone. This technique uses the chemical reaction between salt crystals and water-based pigments to create organic, unpredictable textures that paintbrushes alone can't achieve. It’s a way to break the control we often try to exert over our art and embrace the beautiful, messy unexpectedness of the medium.
We often approach a blank page with a plan, but sometimes the best way to find movement is to let the materials do the heavy lifting. If you’ve been feeling stuck in your practice, or if your work feels a bit too "perfect" and static, salt is your best friend. It introduces a sense of friction and grit that breaks up the smoothness of watercolor.
What Kind of Salt Should I Use for Watercolor?
Coarse sea salt or kosher salt works best because the larger crystals create more dramatic, visible textures than fine table salt. While fine salt will still work, the larger grains provide a more pronounced "bloom" effect that looks more organic and less like a uniform graininess. I personally love using sea salt because the varying grain sizes create a more complex, unpredictable texture.
The size of the grain dictates the intensity of the reaction. A large grain of salt will absorb a significant amount of pigment and create a larger, more striking void, whereas fine salt creates a subtle, speckled texture. It’s all about the tension between the wetness of the paper and the thirstiness of the salt.
Here is a quick breakdown of how different salts behave:
| Salt Type | Texture Result | Best Use Case |
|---|---|---|
| Fine Table Salt | Small, subtle speckles | Light washes or background texture |
| Kosher Salt | Medium, irregular blooms | Adding grit to mid-tones |
| Coarse Sea Salt | Large, dramatic "starbursts" | Creating focal points or heavy texture |
Don't worry about getting it "right." If you're a perfectionist, this is the perfect way to practice letting go. (Seriously, if you're trying to make a perfect circle, the salt will ruin it—and that's the whole point.)
How Do I Apply Salt to Watercolor Without Ruining the Paper?
You must apply the salt to a very wet, saturated wash of paint, and you must remove the salt before the paint dries completely. If the paper dries before you pick up the salt, the crystals will simply sit on top of the dry pigment and won't create that beautiful, blooming effect we're looking for. The magic happens in that brief window of time when the paper is still glistening with moisture.
First, prep your workspace. I use a heavy-weight paper like Winsor & Newton watercolor paper because it can handle the moisture without buckling too much. If your paper is too thin, the salt might cause it to warp or even tear once it dries.
- Wet the surface: Use a large brush to lay down a wash of color. Don't be afraid to go heavy with the water.
- Add the pigment: Drop in your colors while the paper is still quite wet.
- Sprinkle the salt: While the paint is still "active" (meaning it looks shiny and wet), sprinkle your chosen salt across the area.
- Wait and watch: Let it sit for a few minutes. You'll see the crystals start to suck up the pigment.
- Remove the salt: Once the paper looks matte (not shiny), use a stiff-bristled brush or a paper towel to flick or lift the salt away.
A quick tip: don't overdo it. If you cover the entire page in salt, you might end up with a surface that feels a bit too "crunchy" or textured once it's dry. I usually focus the salt in specific areas to create a sense of movement or a focal point.
Working with Movement and Flow
The salt doesn't just create texture; it creates a sense of direction. If you sprinkle the salt in a curved line, the resulting texture will follow that path, creating a sense of flow. This is a great way to guide the viewer's eye through your journal entry or painting. It’s a way to add a sense of "unseen force" to your work.
If you find yourself struggling with the composition, you might want to look at mastering visual storytelling techniques. Understanding how to lead the eye is a big part of why we use these textures in the first place. We aren't just making "pretty patterns"—we're building a visual narrative.
Sometimes, the salt might look a bit "ugly" while it's happening. It might look like a messy, blotchy disaster. That's okay. I've spent many hours staring at "failed" salt washes, and often, the most interesting shapes emerge from those "mistakes." It’s a practice in embracing the unplanned.
Can I Use Salt with Other Mixed Media Materials?
Yes, salt works beautifully when layered with other wet media like gouache or even certain types of ink. However, you should be careful when layering over acrylics or heavy-body paints, as the salt won't react with the plastic-like surface of dried acrylic. The salt needs that water-based "sink" to actually work its magic.
I love using salt-textured watercolor as a base layer, and then once it's bone-dry, adding details with a fine-liner or even layering transparent vellum over it. This adds a level of depth that makes the journal page feel three-dimensional. If you're interested in how to layer more complex materials, check out my post on elevating your layers with vellum.
The texture created by the salt is a wonderful way to break up the flatness of a page. If your journal feels a bit one-dimensional, a salt wash can provide a gritty, organic foundation that makes your subsequent layers feel more grounded. It adds a sense of history to the paper—as if the texture has always been there.
One thing to keep in mind: if you use a lot of salt, the paper might feel a bit textured or even slightly rough once it's dry. This is normal. It’s a physical manifestation of the "messy" practice I'm always preaching. It's not supposed to be smooth and perfect. It's supposed to be real.
If you find yourself feeling stuck or intimidated by the idea of a blank page, remember that the salt is a tool for letting go. You can't control exactly where every crystal lands. You can only set the stage and see what happens. This is a form of meditation—a way to practice surrendering to the process rather than the result.
Try it out the next time you feel the need to be "in control" of your art. Let the salt take over. Let the pigment bloom. Let the mess happen. It's often in those unpredictable moments that we find the most honest parts of our creative voice.
Steps
- 1
Prepare a wet watercolor wash
- 2
Sprinkle salt over the damp surface
- 3
Wait for the pigment to dry completely
- 4
Brush away the remaining salt crystals