How to Start an Art Journal When You Feel Stuck (A Gentle, Messy Beginner Guide)

Hey friend…
I was sitting on my studio floor last night with a blank page in front of me. You know that feeling? When you WANT to make something but your brain just… stalls out.
So this is for that moment. Not a perfect tutorial. Just a way in.
What You Actually Need (Spoiler: Not Much)
Let’s keep this really simple. You don’t need a perfect setup.
- A notebook or sketchbook (anything works—even a cheap one)
- Something to make marks (pen, pencil, markers, whatever you have)
- Optional: glue stick + scrap paper
That’s it. Seriously.
If all you have is a ballpoint pen and a receipt… you can still do this.
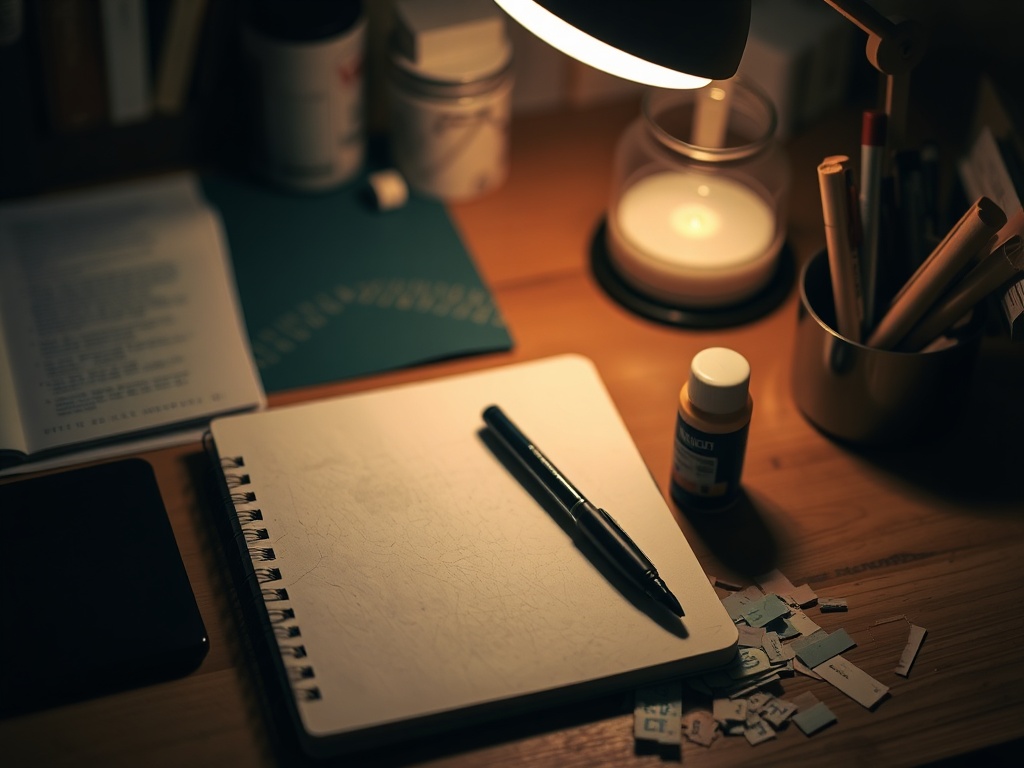
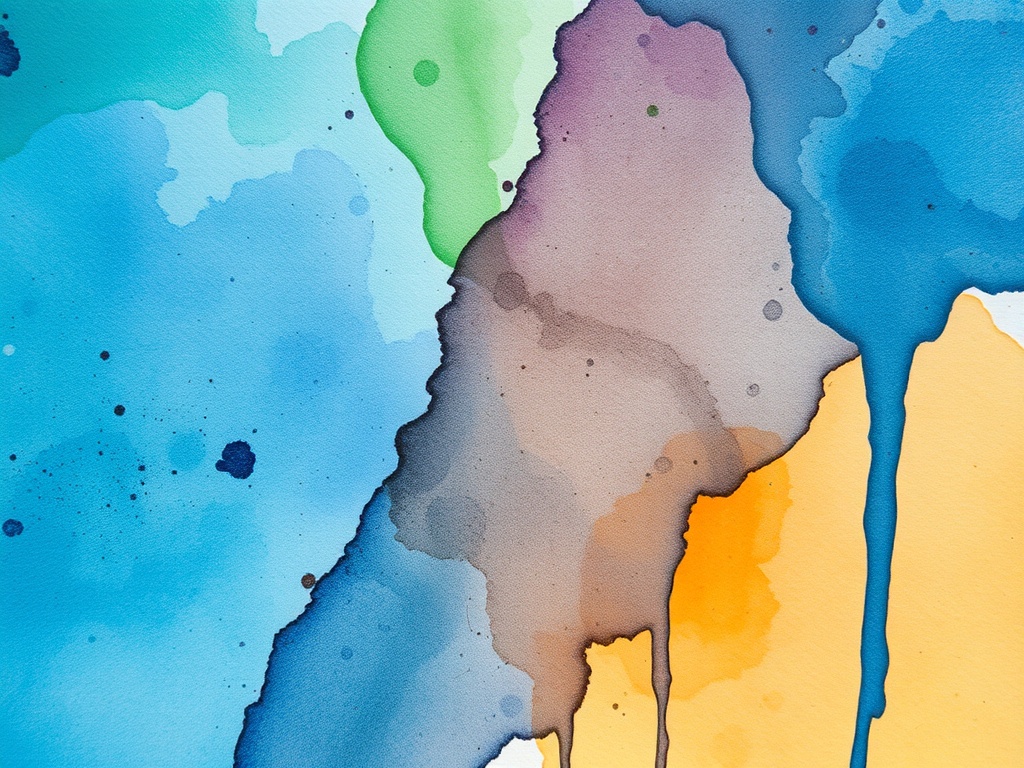
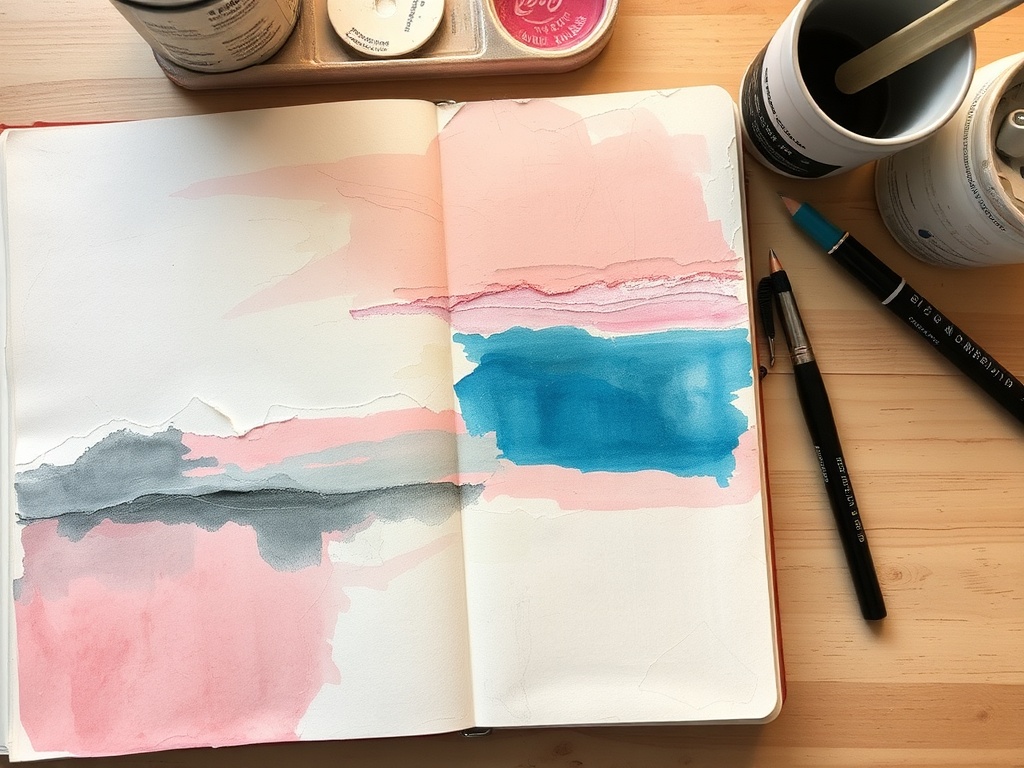
Step 1: Start With a Messy Background
Okay. Open your journal.
Instead of thinking about what to “make,” just cover the page.
- Scribble
- Color
- Paint (if you have it)
- Write random words
I usually grab watercolors and do a loose wash… but honestly? Crayon works. Highlighter works. Anything works.
This step is about breaking the blank page. Not making something good.
If it looks bad? Perfect. That means you’re doing it right.
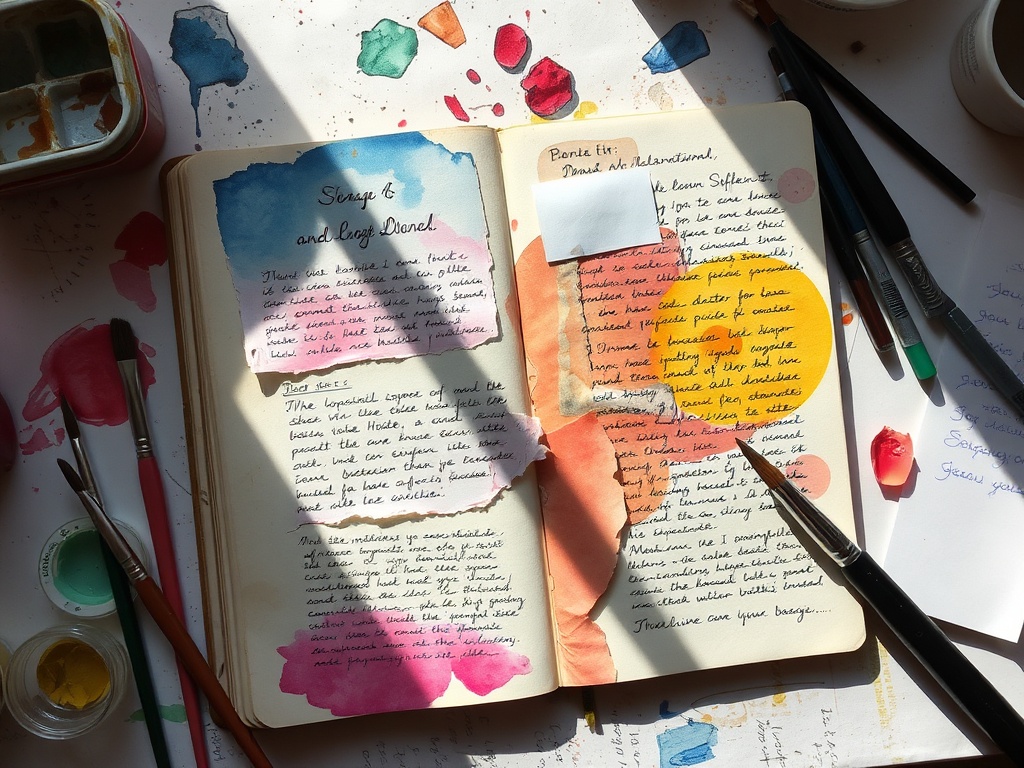
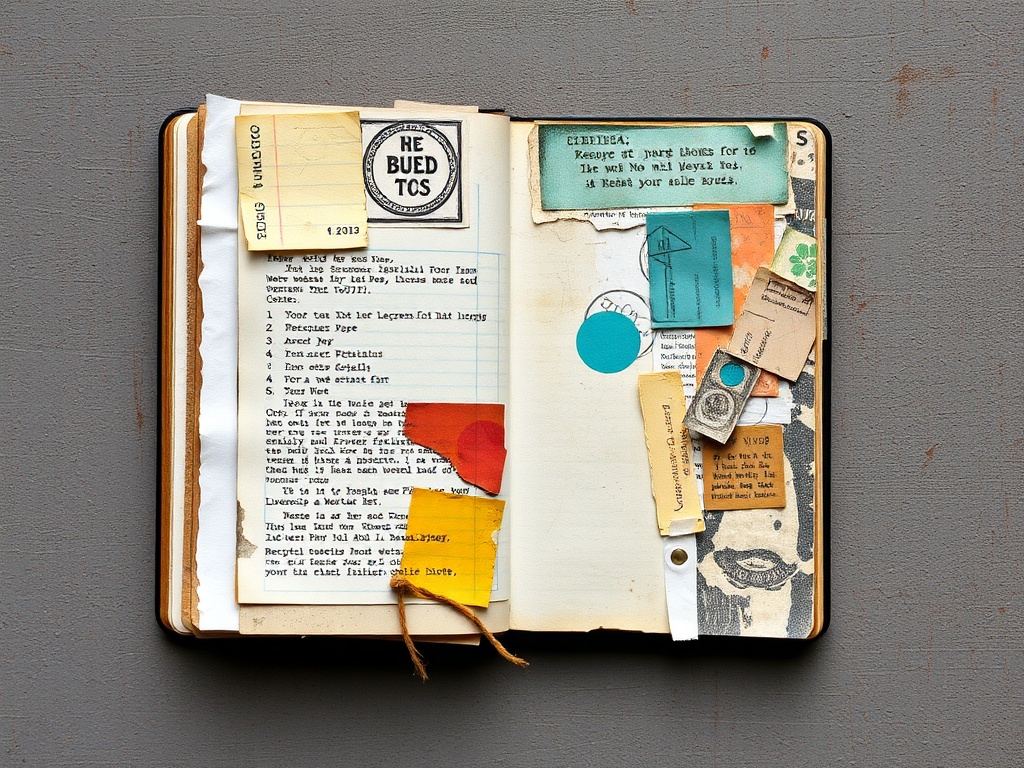
Step 2: Add Something From Your Real Life
This is my favorite part.
Grab something from your day:
- A receipt
- A piece of packaging
- A note you wrote
- A random scrap of paper
Glue it down.
That’s it.
Now your page is already about your life, not just “art.”
I glued in a coffee receipt last night. It wrinkled. The edges peeled up. I left it like that.
It felt honest.
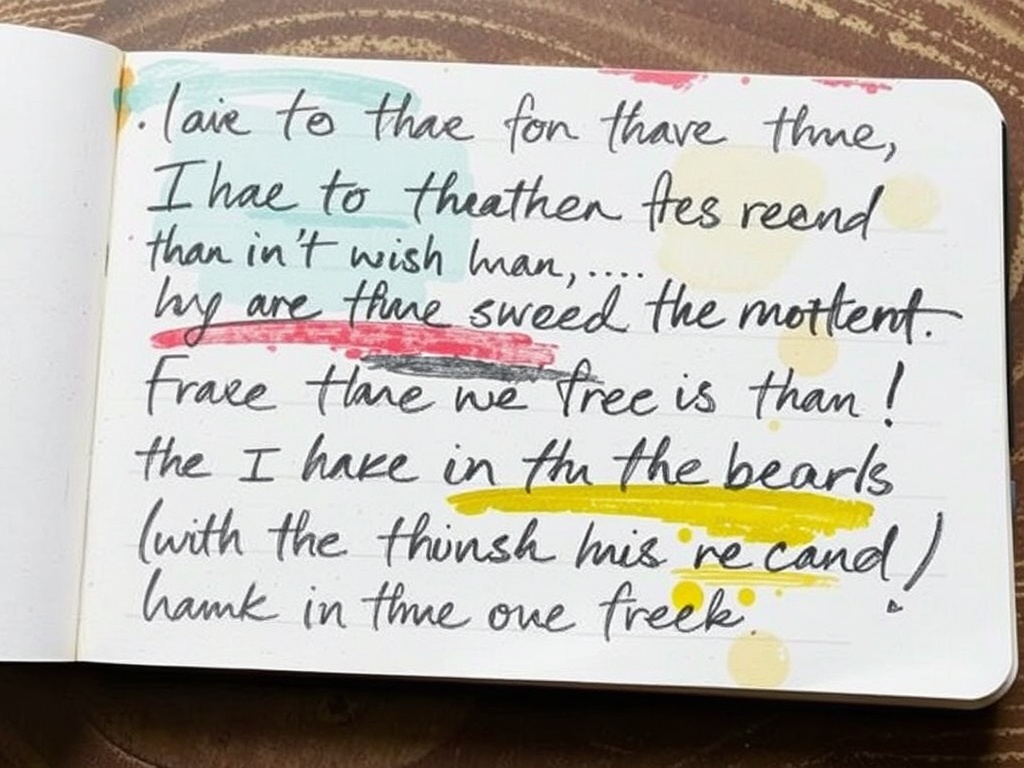
Step 3: Write Without Editing Yourself
This part can feel weird at first…
Write something. Anything.
- How your day felt
- One sentence
- A list
- Even just one word
You can write big. Small. Messy. Sideways.
You can cross things out. Cover them. Paint over them later.
No one else has to read this.
Last night I wrote: “I don’t know what I’m doing today.” And then I painted over half of it.
That counts.
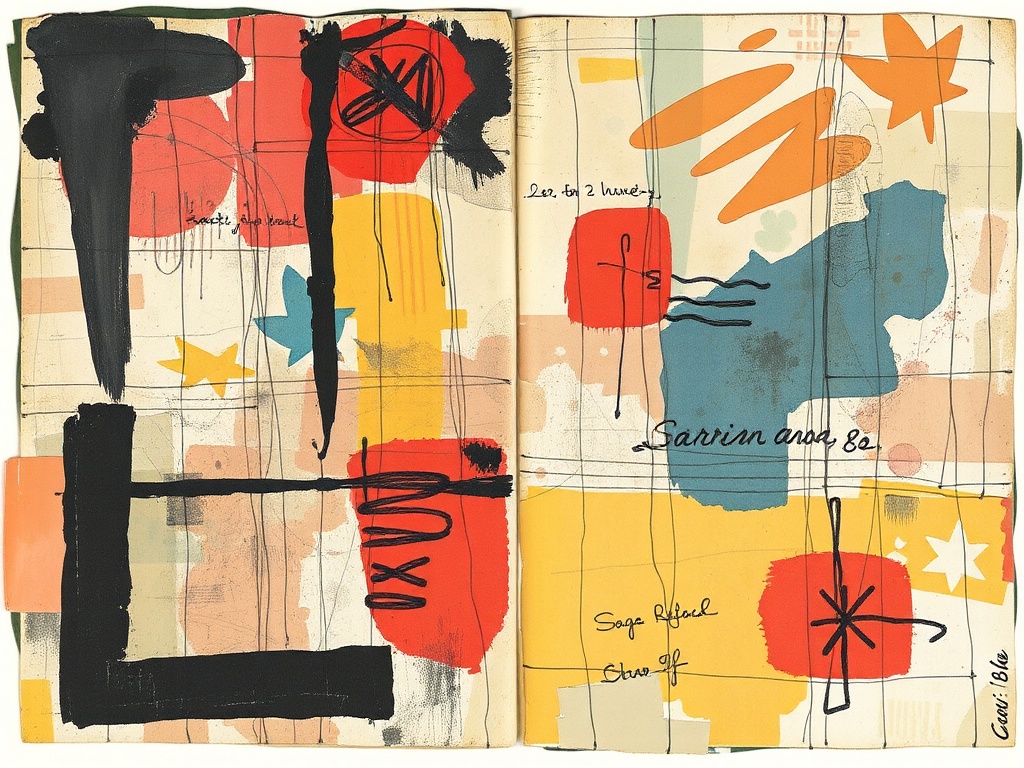
Step 4: Layer One More Thing
Now just… add one more layer.
Not ten things. Just one.
- A line with a pen
- A shape
- A different color
- A sticker if you have one
This is where the page starts to feel alive.
And also where people usually overthink it.
So keep it small. One layer is enough.
Step 5: Stop Before You Ruin It (Or Don’t)
Here’s something I’m still learning…
You can stop anytime.
You don’t have to “finish” the page.
Some of my favorite spreads are the ones I stopped early because they felt done in my body, even if they looked unfinished.
And sometimes… I keep going and absolutely ruin it.
And then I paint over the whole thing and start again.
That’s part of the practice.
What If You Still Feel Stuck?
Try this tiny version:
- Open your journal
- Make one mark
- Close it
That counts as art journaling.
I’m serious.
The goal isn’t to make something impressive. It’s to show up.
What Can Go Wrong (And Why It’s Fine)
- “It looks ugly” — good. Ugly pages are honest pages.
- “I messed it up” — there’s nothing to mess up. It’s your page.
- “I don’t know what I’m doing” — same. Still don’t. That’s the point.
A Small Note About Feelings
Sometimes stuff comes up while you’re making pages.
That’s normal. It happens to me too.
Art journaling can be a really gentle way to process things—but it’s not a replacement for professional support.
If you’re struggling, please reach out to someone you trust or a mental health professional. You don’t have to carry it alone.
Your Turn
Try one page. That’s it.
Not a series. Not a perfect spread. Just one messy page.
And if all you do is scribble and close the book… that still counts.
There’s no wrong way to fill a page.
Come back and tell me what your page looked like. I really want to hear about it.
Steps
- 1
Start With a Messy Background
- 2
Add Something From Your Real Life
- 3
Write Without Editing Yourself
- 4
Layer One More Thing
- 5
Stop Before You Ruin It (Or Don’t)